

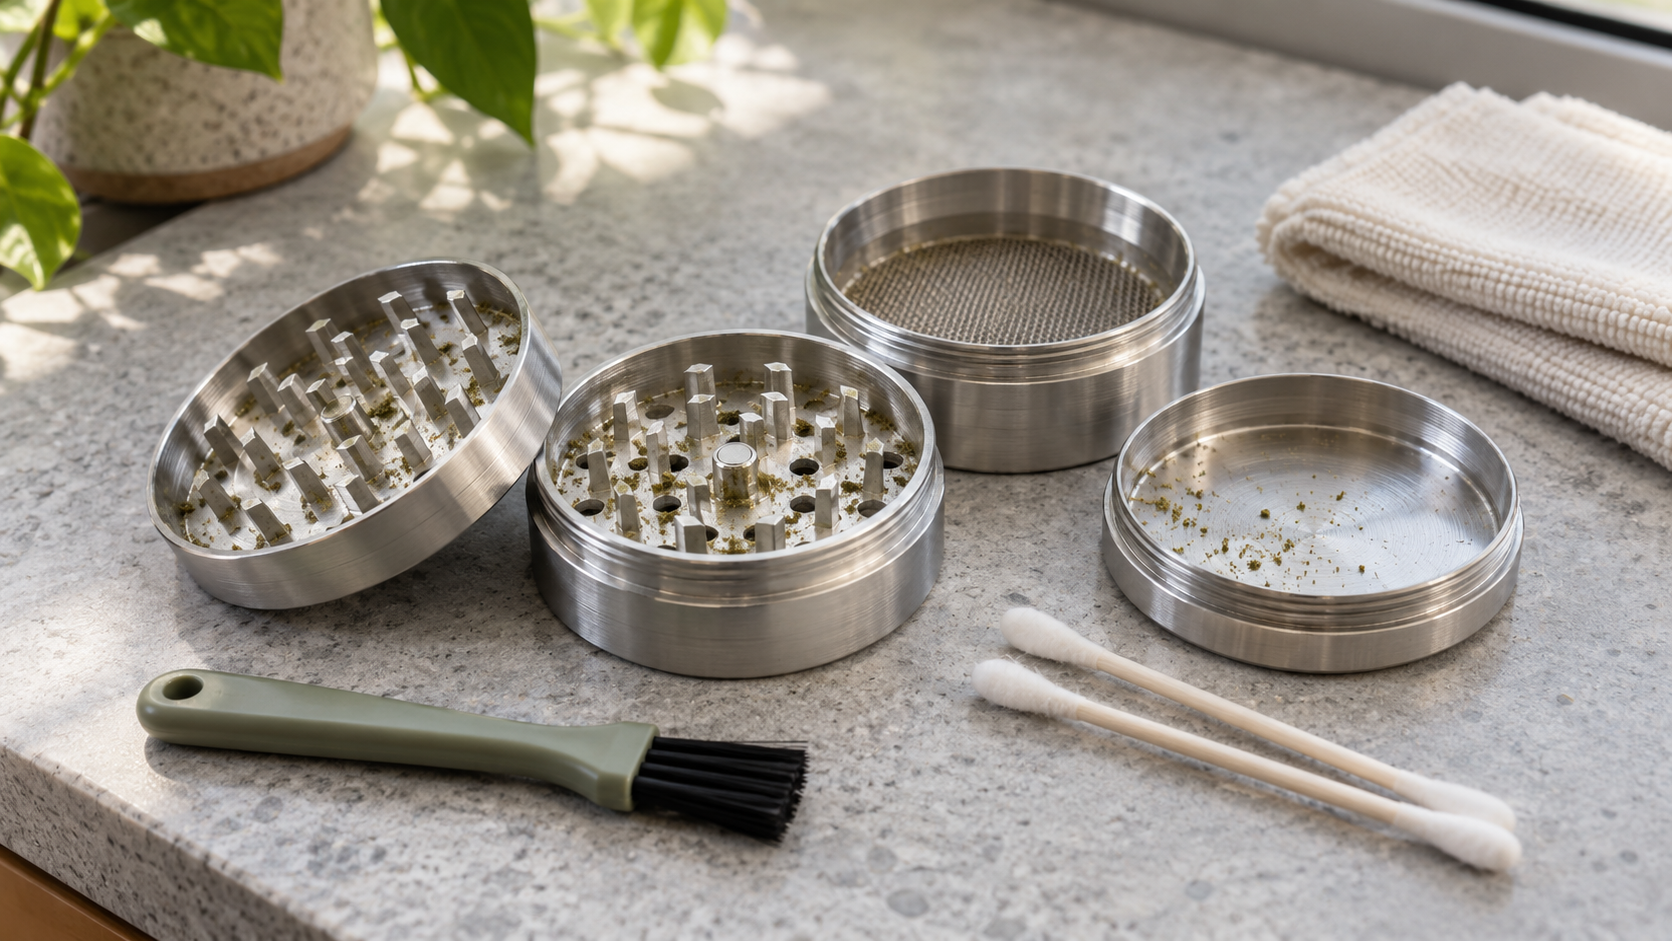
Grinder care · Adults 21+
How to Clean a Weed Grinder Without Damaging It
Choose a cleaning method for your exact grinder, protect delicate parts, and know when to stop cleaning and ask for a replacement.
Featured answer
To clean a weed grinder, empty it, separate only the removable parts, and brush away loose residue. Check the manufacturer’s directions before using alcohol, soap, water, or a soak. Gently clean approved surfaces, complete the prescribed rinse or wipe, and let every part dry fully before reassembly. Do not heat alcohol or use cleaning liquid to recover consumable material.
Start dry
A soft brush removes loose material before liquids.
Identify the model
Metal, coatings, seals, and labels can change the method.
Keep alcohol unheated
Work away from flames, sparks, and heat.
Finish fully dry
A timer alone does not confirm readiness.
| Manufacturer / product | Verified care direction | Important limit |
|---|---|---|
| Flower Mill | Published mill-cleaning guide specifies 70% isopropyl alcohol. | Up to 10 minutes; air-dry for one hour or until all liquid has evaporated. |
| Lift Innovations | Maintenance instructions recommend 99% isopropyl alcohol. | Warns that some detergents may leave a film or damage the grinder. |
| Brilliant Cut | Care FAQ permits isopropyl alcohol or warm water with mild dish soap. | Avoid long soaks; dry thoroughly; not dishwasher safe. |
| Santa Cruz biodegradable hemp grinders | Hemp-grinder disclaimer permits isopropyl alcohol. | Protect the sticker: liquid can damage its adhesive. |
These examples demonstrate why one recipe is not universal. They do not identify your grinder or confirm that Mary Jane carries these brands. Follow current directions for the exact model and its components.
A grinder can look fairly clean and still resist turning because residue remains around the rim, threads, or moving surfaces. Before reaching for stronger cleaner, identify the part that is actually sticking. More force can make an existing problem harder to diagnose.
This guide covers hand-operated herb grinders. It does not cover coffee grinders or provide a liquid-cleaning procedure for powered equipment. With an unfamiliar model, dry brushing and a manufacturer inquiry are more useful than copying a method meant for another grinder.
Adult-use and cleaning note: Keep tools, loose material, and cleaners away from children and pets. Follow product directions and local rules. Cleaning equipment does not make smoking harmless; CDC explains the lung risks of smoked cannabis.
Related guide: Cannabis accessories for beginners explains where a grinder fits into a basic flower setup.
Prepared for the Mary Jane’s Bakery Co Editorial Team · Source check: October 13, 2026. Based on published manufacturer care instructions and public-health guidance. Desk research only; no physical cleaning test or medical review.
1. Choose a method for the exact grinder
Find the model name, manual, or purchase record. Look beyond the outer shell: the teeth, screen frame, seals, magnets, coatings, and decorative labels may need different handling. Photograph the assembled grinder before taking it apart.
| What you have | Useful starting route | What needs confirmation |
|---|---|---|
| Identified manual metal grinder | Dry brush; then use its prescribed cleaner. | Cleaner strength, soak limit, coating, and excluded parts. |
| Plastic, acrylic, or hemp composite | Dry brush while you locate model instructions. | Whether water, soap, or alcohol is approved. A hemp composite is not automatically equivalent to acrylic. |
| Wood or unknown finish | Gentle dry brushing; ask the maker before liquids. | Wood treatment, adhesives, and any approved care product. |
| Electric grinder | Turn off and disconnect power; use its manual. | Which parts are removable and washable. This guide does not authorize soaking electrical equipment. |
Unknown grinder? Do not identify solvent compatibility by color, weight, or a small hidden test alone. A finish that looks unchanged may not tell you what happened to an adhesive or internal component. Stay with gentle dry cleaning until the maker confirms a wet method.
2. Dry-clean the grinder first
- Set out a clean tray, a soft brush, and a clean cloth. Work in good light.
- Empty the chambers. Keep fresh flower away from the cleaning area.
- Separate only the pieces intended to be removed. Leave fixed mesh and magnets in place.
- Brush loose residue from the rim, teeth, holes, and threads. Use light strokes around the screen.
- Inspect for cracks, loose parts, flaking, and broken teeth before continuing.
A dry pass may be enough when the problem is loose debris. It will not necessarily remove a sticky film, and it is not proof of disinfection. If residue appears moldy or contaminated, discard that material and ask the maker whether the grinder can be cleaned adequately or needs replacement.
3. Deep-clean approved parts in six steps
Use these steps only after the maker confirms a wet method. Keep its instructions beside you; they determine the cleaner, contact time, parts to exclude, and finish.
Step 1: Set up for the specified cleaner
Choose a stable workspace and a container suitable for the cleaner. Follow its label for ventilation and protective equipment. With alcohol, keep the work away from smoking, lighters, pilot flames, sparks, and other heat sources. NIOSH’s isopropyl alcohol guidance documents its flammability and exposure hazards.
Step 2: Separate the approved components
Keep the original part order clear. Put excluded seals, labels, or other components aside, following the manual. Do not force a press-fit part apart to make it fit a soak.
Step 3: Apply the model’s cleaning method
Use the prescribed wipe, wash, or soak. Follow the maker’s cleaner concentration and time instead of extending a soak automatically. If residue remains, use its permitted repeat-cleaning procedure or ask support.
Step 4: Brush remaining deposits gently
Use a soft, non-abrasive brush on approved surfaces. Check the lid contact area and threads as well as the main chamber. Keep pressure light at the mesh; do not substitute a sharp scraper for a brush.
Step 5: Complete the required rinse or wipe
Manufacturers do not all publish the same finishing method. Follow the instructions for your model, including whether to rinse, wipe, or air-dry directly. Do not carry one brand’s water-rinse step over to a different design.
Step 6: Dry, inspect, and reassemble
Lay the pieces apart in a secure, ventilated place. Wait until they are fully dry, including recesses and threads. Follow any stated minimum drying period as well. Reassemble in the correct order without forcing the threads.
Readiness check: No visible wetness, no remaining debris or cleaner film, correct part order, and no damage or persistent drag. A smell check alone cannot confirm that every recess is clean and dry. If something still feels wrong, stop before adding fresh flower.
4. Clean without alcohol when the model allows it
For light residue, a soft dry brush is the simplest alcohol-free option. For a wet clean, confirm that the grinder allows soap and water. Do not assume that every plastic grinder tolerates the same wash, heat, or soak.
Where mild soap and warm water are approved, brush gently, rinse as directed, and let the parts dry separately. If brushing leaves a sticky patch, ask about an approved alternative rather than substituting vinegar, peroxide, or another household chemical.
5. Clean the kief screen and troubleshoot sticking
A kief screen catches fine material, but a blocked screen and a torn screen need different responses. Brush gently from accessible surfaces. Only use a cleaner on it if the maker approves that component. Do not push a pin through the mesh or bend the frame.
| What you notice | Check next | Stop if |
|---|---|---|
| Lid sticks near the rim | Inspect the contact surface and clear approved areas gently. | A part is bent, loose, or cracked. |
| Chambers resist screwing together | Check part order, thread debris, and alignment. | Threads look damaged or require force. |
| Little material passes through the screen | Look for visible blockage; follow screen-care directions. | The mesh tears, detaches, or cannot be cleaned as directed. |
| Grinder still drags after drying | Recheck assembly and request model-specific support. | You would need extra force or an unapproved lubricant. |
Do not add cooking oil, machine lubricant, or another improvised product to solve drag. Some makers prescribe a particular care product; use only the product and placement approved for your model.
6. Avoid heat, harsh cleaners, and residue-recovery hacks
- Never microwave, boil, or otherwise heat isopropyl alcohol.
- Do not boil the grinder or use an oven, microwave, or dishwasher unless its maker expressly permits that process. Flower Mill’s maintenance page specifically excludes these methods.
- Avoid abrasive pads and sharp scraping tools unless the exact part’s instructions allow them.
- Do not substitute nail-polish remover, paint thinner, or household cleaning chemicals for an approved cleaner.
- Keep cleaning liquid and cleaner-soaked residue out of food, drinks, and anything you inhale.
- Do not treat freezing as a universal preparation step; check the model before temperature extremes.
A cleaning job should finish with usable equipment. It should not become an experiment in consuming recovered residue. Discard cleaning waste according to the cleaner label and applicable local guidance.
7. Decide when to clean or replace the grinder
Inspect after use and remove loose debris when convenient. A deeper clean makes sense when approved dry cleaning no longer resolves visible deposits or resistance. Let the manufacturer’s guidance and the grinder’s condition set the interval; a weekly or monthly rule will not fit every design.
- Clean before extended storage and store fully dry.
- Avoid packing material tightly into moving parts.
- Check the rim and threads when the feel changes.
- Ask about replacement parts for a torn screen or damaged ring.
- Stop using a grinder with broken teeth, loose fragments, or flaking surfaces.
While the grinder is out of use, Mary Jane’s grinder-alternatives guide covers a separate preparation problem. This cleaning guide does not replace it.
8. Ask better accessory questions in Miami
If you are comparing accessories, ask four questions: What is the exact model? Which parts can come apart? What cleaning method is approved? Are replacement screens or rings available? Those answers are more useful than a general “easy to clean” claim.
Mary Jane’s Wynwood, Miami location page lists 175 NW 14th St, Miami, FL 33136, with 24-hour pickup or local delivery. Ask the team about current accessory availability before visiting, or review the online catalog. The cleaning examples above are not a statement of store inventory.
9. Authoritative sources and care instructions
| Source | What it supports |
|---|---|
| Flower Mill: mill cleaning | Published cleaning concentration, timing, and drying direction. |
| Flower Mill: basic maintenance | Excluded heat, abrasive, and household-chemical methods. |
| Lift Innovations: instructions | Its recommended cleaner and detergent caution. |
| Brilliant Cut: care FAQ | Its approved cleaning alternatives and limitations. |
| Santa Cruz Shredder: contact / care notes | The biodegradable hemp-grinder exception and sticker caution. |
| NIOSH: isopropyl alcohol | Flammability and exposure hazards. |
| CDC: cannabis and lung health | Smoking risks that equipment cleaning does not remove. |
Manufacturer directions may change. Confirm the current instructions for the model in your hand. This comparison is based on published guidance, not physical product testing.
10. Frequently asked questions
Can you clean a weed grinder with 70% alcohol?
Only when the exact model permits it. The percentage used by one manufacturer is not a compatibility rule for every grinder.
Is 99% alcohol always better?
No universal recommendation follows from a higher percentage. Use the concentration and handling method your manufacturer specifies.
How do you clean a grinder without alcohol?
Brush away loose material first. If the model permits mild soap and warm water, use that route and finish with the prescribed rinse and full drying.
How long should a grinder soak?
Follow its manufacturer’s limit. If a time is not supplied, ask support rather than choosing an overnight soak.
Can you clean a grinder and save the kief?
Empty any loose material before introducing cleaner. Do not consume cleaner-soaked residue or cleaning liquid. Discard questionable or contaminated material.
Can you boil a grinder to clean it?
Do not make boiling the default. Heat compatibility depends on the model and its components. Use an approved method instead.
Why is my grinder still stuck after cleaning?
Possible causes include remaining deposits, incorrect assembly, or damaged parts. Check the rim and thread alignment; stop if it takes force and contact the manufacturer.
Does cleaning make a damaged grinder safe again?
Cleaning removes residue; it does not repair broken teeth, cracks, a damaged finish, or loose components. Ask about replacement parts or replace the grinder.
11. A cleaner grinder starts with the right method
Start with the model, remove loose residue, and use only an approved cleaning route. Finish with fully dry parts and a condition check. A grinder that remains damaged or difficult to assemble needs support or replacement rather than more force, heat, or stronger chemicals.
Safety and responsible-use reminder: Adults 21+ only. Follow the grinder and cleaner labels. Keep cleaners, tools, and cannabis products secured away from children and pets. Do not drive or operate equipment while impaired. Equipment care does not remove smoke-related health risks. This article provides general education, not medical advice or a guarantee of product safety.